Stop the Hunt: Why You Need a Standardized Reseller Bin Label System
You sourced a great item. You listed it. It sold in 48 hours. Now you're tearing apart five unlabeled bins trying to find a $20 hoodie while the buyer's shipping clock ticks down. Sound familiar? The problem isn't your storage space — it's that your bins have no language. This guide fixes that.
The Real Cost of Vague Labels
Community data from r/Flipping and r/Poshmark consistently tells the same story: resellers waste between 20 and 30 minutes per sale hunting for an already-listed item — time that erases the profit margin on any sub-$30 item entirely. Worse, bins labeled "Misc," "Stuff," or "Thrift Haul #3" are shipping cancellation factories. When you can't confidently locate an item, you cancel. Cancellations tank your seller metrics on eBay and Poshmark alike, triggering algorithmic suppression of your other listings.
This is not a motivation problem. It is a system design problem. The fix is boringly simple: every bin gets a permanent, standardized identity before a single item goes inside it.
The Bin ID Framework: Your Storage Address System
Think of your storage room like a city grid. Streets have names. Buildings have numbers. Your bins need the same. The Bin ID system assigns every container a unique alphanumeric code that never changes, even when the bin's contents rotate.
How to Build Your Bin ID Grid
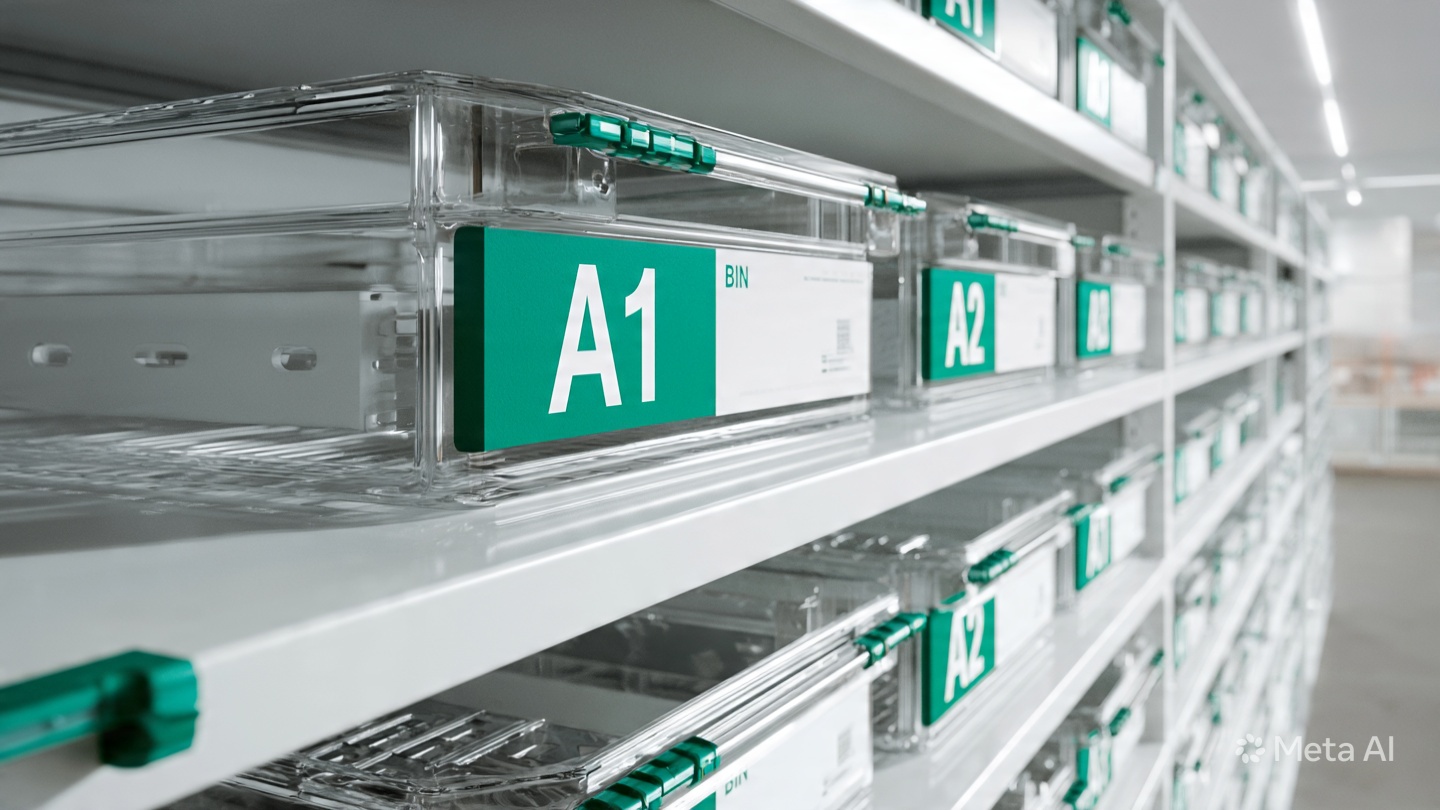
- Letter = Zone or Shelf Row. "A" = Shelf Row 1 near the door. "B" = Shelf Row 2. "C" = Floor bins. Assign letters to physical locations, not categories.
- Number = Position Within That Row. A1, A2, A3 from left to right. B1, B2, B3 on the next row.
- The Golden Rule: The Bin ID is tied to the location, not the product. When you move bins around, the label moves too — keeping your master inventory sheet accurate.
- Start small. A 3×4 grid (A1–C4 = 12 bins) covers most home resellers. Expand to D, E rows as you scale.
- Log every Bin ID in a simple spreadsheet or your inventory app (eBay, Vendoo, List Perfectly) as a "Location" field on each listing.
Real-World Example
You sell a pair of Nike Air Max. Your listing says Location: B3. Order comes in at 11 PM. You walk to Row B, count to bin 3, open it, pull the item. Total retrieval time: under 60 seconds. No hunt. No panic. No cancellation.
Color-Coding by Category: The Visual Fast Lane
Bin IDs tell you where something is. Color-coding tells you what kind of thing is there — before you even read the label. This two-second visual scan is what separates a warehouse from a pile. Assign one consistent color per broad category and print or tape a color band onto every label in that category.
Suggested Color Map for Resellers
- 🔴 Red — Women's Clothing
- 🔵 Blue — Men's Clothing
- 🟢 Green — Electronics & Accessories
- 🟡 Yellow — Shoes & Handbags
- 🟣 Purple — Home Goods & Décor
- ⚪ Gray — Unsorted / Needs Processing
Use colored washi tape, colored cardstock label borders, or a printed color bar at the top of each label. Consistency is the only rule — choose your palette once and never deviate.
The 4-Field Label: What Every Bin Label Must Include
A good reseller bin label is not a sticky note. It is a data record attached to a physical object. Based on what actually prevents lost items and shipping errors (per r/Flipping moderator pinned guides and cross-referencing with basic warehouse labeling standards), every label needs exactly four fields — no more, no less.
Field 1: Large Bin ID (Primary)
- This is the headline of your label. It must be the largest text element — minimum 48pt font equivalent when printed.
- Format: Bold, sans-serif (Arial or Helvetica), all-caps.
- Example: B3
- Why it's large: You need to read it from across the room with a sold-order notification on your phone. Squinting is a system failure.
Field 2: Category Tag (Secondary)
- A short, plain-English descriptor for what lives in this bin.
- Max 3 words. No creative names. No "Misc." No "Random."
- Good: Men's Tops S-M / Sneakers Listed / Electronics Cords
- Bad: Stuff from Target run / Winter things / Misc 2
- The category tag is backed by a color-coded border that matches your color map above.
Field 3: "Last Audited" Date
- This field is the secret weapon most resellers skip — and it's the reason bins turn into mystery boxes.
- Format: MM/YYYY written in pencil or on a dry-erase insert so it's easy to update.
- Rule: Any bin not audited within 90 days must be physically reviewed — items inside may have sold on another platform, been relisted at the wrong price, or simply forgotten. r/Flipping community data warns that 90+ day un-audited bins are the #1 source of "item not found" cancellations.
- During audit: cross-check every item in the bin against your active listings. Remove anything that has sold. Update the date.
Field 4: Max Capacity Limit
- Every bin gets a hard item cap — a number you set based on the bin's physical size and the type of item it holds.
- Format: MAX: 12 items or MAX: 8 pairs
- Why this matters: Overfilled bins create the exact "hunt" problem this system solves. When a bin exceeds capacity, items get buried, wrinkled (bad for clothing photos), or misidentified. The cap is a circuit breaker — when the bin is full, you either list what's inside or open a new bin. No exceptions.
- Suggested caps by category: Folded tops = 15 items; Shoes = 6 pairs; Electronics = 8 items; Handbags = 4 items.
Setting Up Your System in One Afternoon
You don't need to buy new bins. You don't need to reorganize your entire storage room. You need one session — roughly 2–3 hours — to retrofit this system onto what you already have.
The One-Afternoon Setup Protocol
- Step 1 (15 min): Map your physical space. Assign letter rows to shelf rows or zones. Sketch it on paper.
- Step 2 (20 min): Choose your color categories. Write them down. This is your permanent reference sheet — laminate it and post it on your storage room wall.
- Step 3 (30 min): Print your labels using the printable below. Fill in Bin IDs, category tags, today's audit date, and capacity limits.
- Step 4 (60 min): Attach labels to all existing bins. Sort any "Misc" bin into properly categorized bins. Anything that doesn't fit a category gets a Gray ("Needs Processing") label — not "Misc."
- Step 5 (30 min): Update your active listings with the correct Bin ID in the location field. Even if you do only your top 20 best-selling listings first, you'll feel the difference immediately.
- Step 6 (Ongoing): Every new item gets placed into a bin before it gets listed — and the Bin ID goes into the listing at the time of creation. Never list first, bin later.
The One Rule That Makes This System Stick
Systems fail at the moment of temptation — when you're tired, you have 12 new items from a haul, and you just want to toss them in the nearest open bin. The rule that prevents this is simple: no item enters storage without a Bin ID logged in the listing. If the item isn't listed yet, it goes into a designated "Incoming / Unlisted" staging area (its own labeled bin: Z1 — UNLISTED), never into a live inventory bin. This single boundary prevents 80% of future "hunt" situations.
The r/Flipping community calls this principle "don't put unlisted inventory in bins" — because out of sight truly is out of mind, and an unlisted item in a live bin is just a future shipping cancellation waiting to happen.
[PRINTABLE_DOWNLOAD_BOX]Frequently Asked Questions
What if I have more than 26 bins?
Extend to double-letter zones: AA1, AA2, AB1, etc. This mirrors the alphanumeric system used in small warehouses and is already supported in the printable download above (A–Z plus AA–AZ labels).
Do I need a label printer, or can I use a regular printer?
A regular inkjet or laser printer works perfectly. Print on cardstock for durability, slip into a clear adhesive label holder (Avery 5392 or equivalent), and attach to the bin. No special hardware required.
What do I do when a bin's category changes?
The Bin ID never changes — only the Category Tag and color border are swapped. Pull the label, reprint or hand-update the Category Tag field, update your master bin map. This is why the Bin ID is tied to location, not content.
How does this help with IRS record-keeping?
The "Last Audited" date field creates a lightweight paper trail showing when inventory was physically verified. Combined with your listing platform's sold records, this supports cost-of-goods-sold (COGS) documentation — which the IRS requires for Schedule C reseller filings. It's not a substitute for a proper inventory log, but it is a corroborating record of physical verification dates.